
Chasing the light: 5 golden tips about the charm of golden hours in photography
Step into the enchanting world of photography! Embrace the “Golden Hours in Photography” – those dreamy moments just after dawn and before dusk. Picture soft, warm rays that paint your subjects in an ethereal glow. While the timing dances with your location and season, think about the first hour after sunrise and the last hour before sunset as your golden ticket to perfect lighting. A touch of nature’s magic caresses your scenes with a flattering embrace. And don’t forget the allure of overcast days, gifting you a diffused canvas for your creative visions. Ready to make your moments shine?
If you are looking for exciting ideas for creating advertising photos, be sure to visit the portfolio page of Studio NextShot.
Timing and Techniques for Golden Hours in Photography
The timing of a photo shoot is crucial for achieving the best possible lighting conditions and overall visual appeal in your photographs. Here’s a more comprehensive explanation:
1- Golden Hours (Sunrise and Sunset):
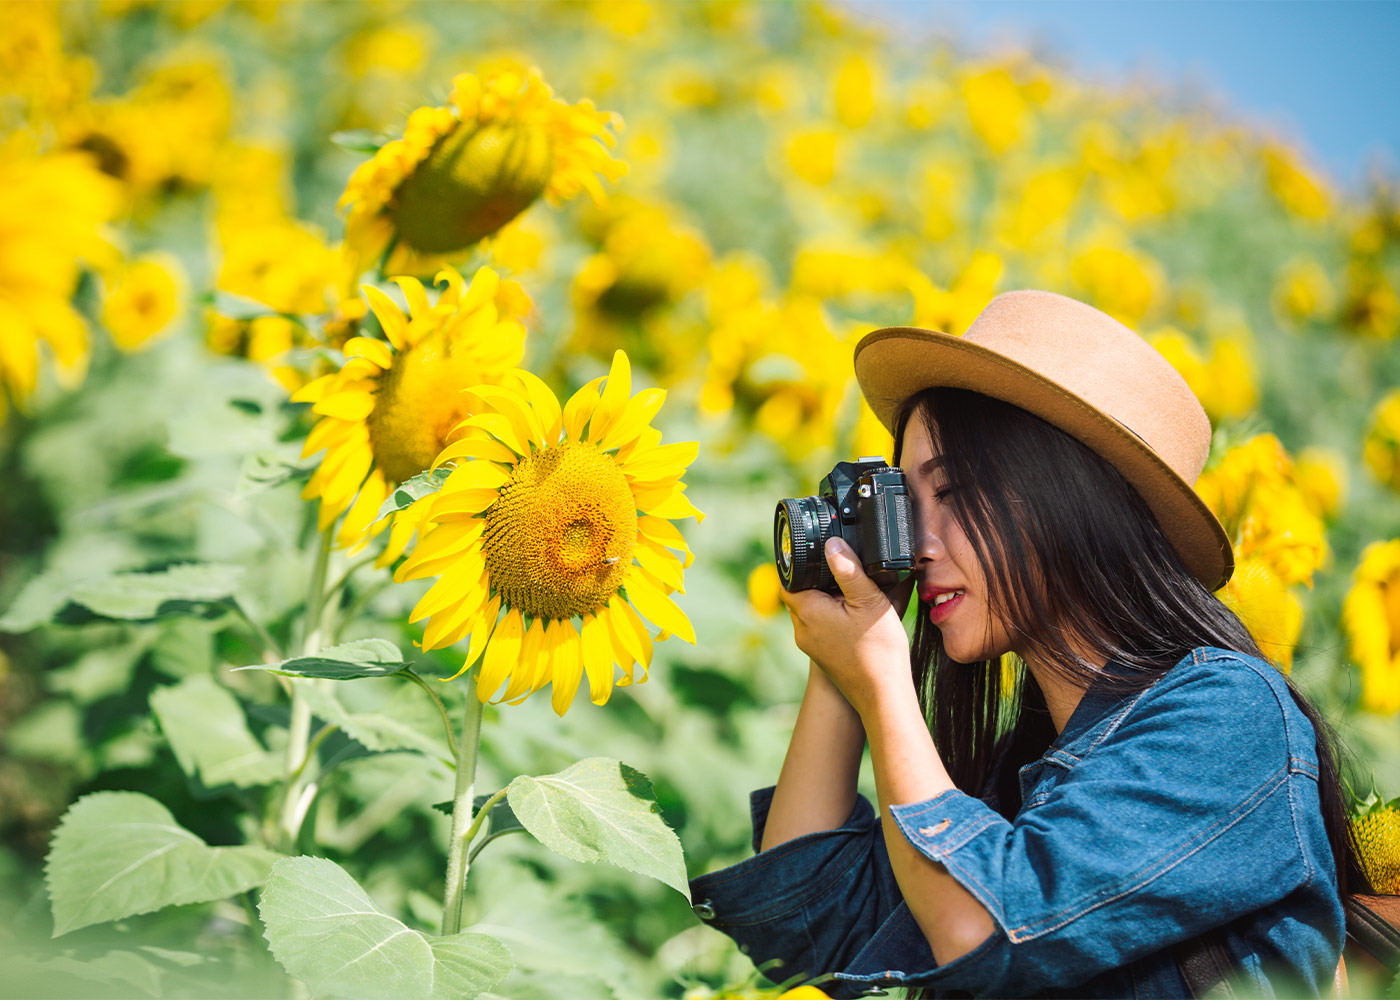
The “Golden Hours,” also known as the “Magic Hours,” refer to the periods shortly after sunrise and before sunset. During these times, the sun is low in the sky, creating a soft, diffused, and warm light that adds a beautiful and flattering quality to your photos.
The light during these hours is less intense, resulting in fewer harsh shadows and more even illumination. This makes it ideal for portraits, landscapes, and various types of outdoor photography.
The color of the light during the Golden Hours also adds a touch of warmth and magical quality to your images.

2- Golden Hours in Photography | Blue Hour:
The Blue Hour occurs shortly before sunrise and after sunset when the sun is below the horizon, but the sky is still illuminated with a soft blue light.
This time can provide a unique and serene atmosphere, with cool and calming tones in your photographs.
Blue Hour is great for cityscapes, architectural shots, and capturing a tranquil mood.
3- Overcast Days:
Cloudy or overcast days can act as natural diffusers, softening the light and reducing harsh shadows. This type of lighting is excellent for a wide range of subjects, as it provides even illumination and minimizes the need for dealing with strong contrasts.
Overcast conditions are well-suited for portraits, macro photography, and capturing details without worrying about harsh highlights or shadows.
4- Midday and Harsh Sunlight:
While midday light is generally considered less favorable due to its intensity and strong shadows, it can work well for certain situations.
When shooting in harsh sunlight, look for areas with open shade, such as under trees or buildings, to create softer and more even lighting on your subjects.
High-contrast scenes, architectural details, and creative shadow play can also be achieved with the right approach during midday.
5- Golden Hours in Photography | Nighttime and Low-Light Conditions:
Nighttime photography offers opportunities for creative shots using artificial lighting, city lights, and long exposures.
Capturing images during cityscapes or astrophotography at night can result in stunning, dramatic visuals.
In conclusion, the best time for a photo shoot depends on your desired outcome and the mood you wish to convey. The Golden Hours and Blue Hour provide optimal lighting conditions for a natural and enchanting look, while overcast days and creatively managed midday sun can also yield fantastic results. Tailoring your shooting time to the specific situation and effect you want to achieve will help you capture stunning photographs.
Golden Hours in Photography | Take advantage of the golden hour in photography
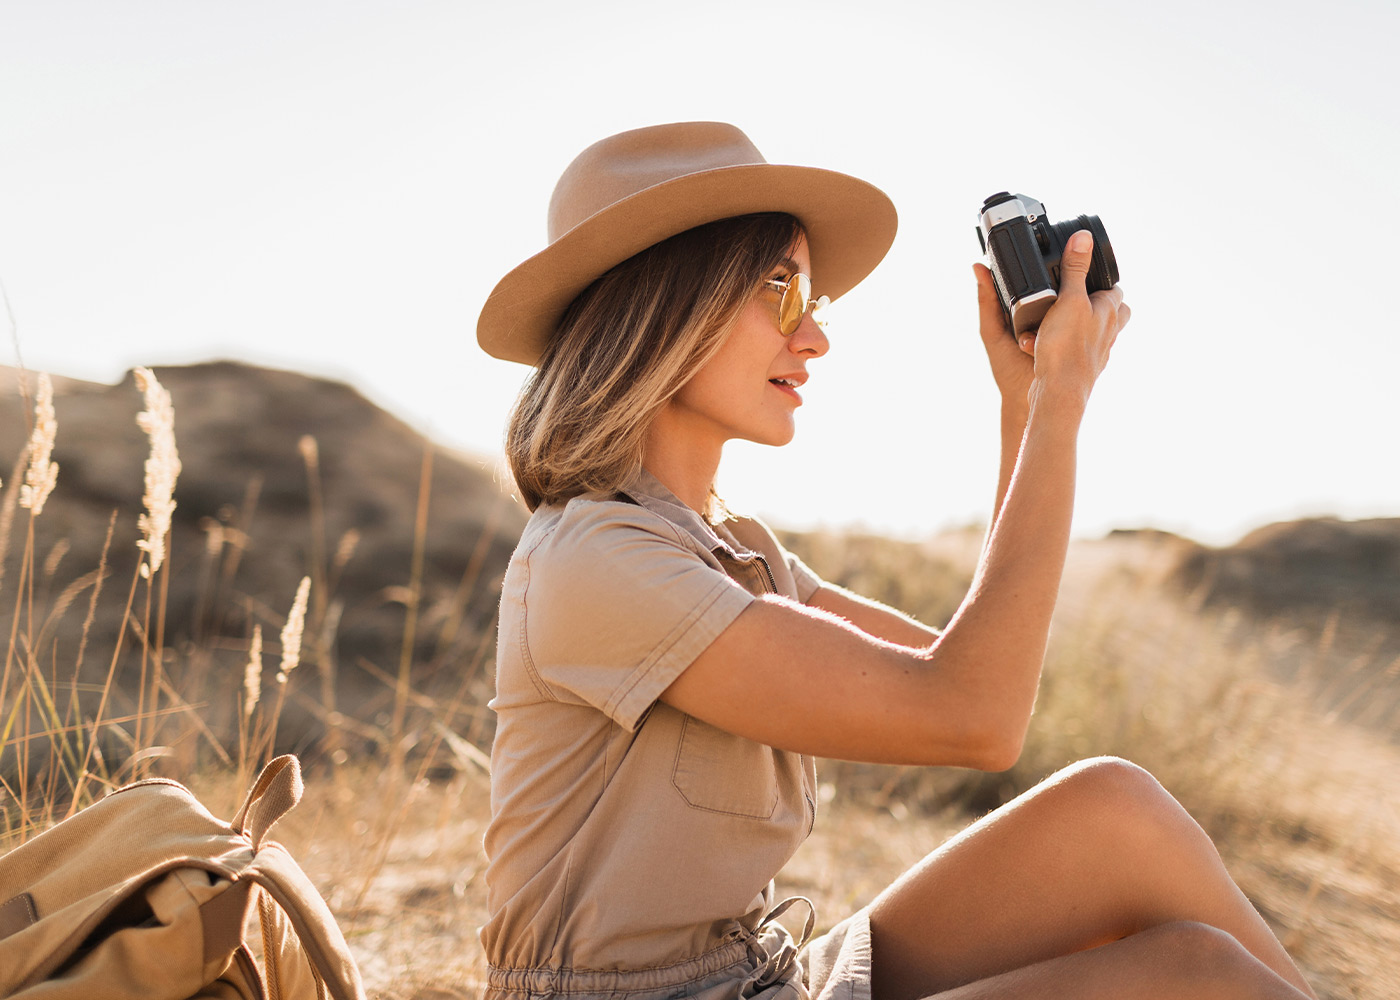
Certainly, the golden hour is a prime time for photography, offering soft, warm, and flattering light that can make your photos truly exceptional. Here are some tips to make the most of the golden hour in your photography:
Plan Ahead:
Research the exact times of sunrise and sunset in your location, as the golden hour occurs shortly after sunrise and before sunset. Arrive early to set up and be ready to capture the best light.
Choose the Right Location:
Scout out your location in advance. Look for places with interesting compositions, such as landscapes, water bodies, cityscapes, or architectural details that will be enhanced by the golden hour lighting.
Use a Tripod:
To ensure sharp images in lower light conditions, use a sturdy tripod. This will help you maintain stability and prevent camera shake during longer exposures.
Golden Hours in Photography | Shoot in Manual Mode:
Take full control of your camera settings. Shoot in manual mode to adjust your aperture, shutter speed, and ISO according to the available light. Use a wide aperture (low f-stop number) for a shallow depth of field and to let in more light.
Capture Silhouettes:
Position your subject against the bright background of the sun to create dramatic silhouettes. This can add depth and emotion to your photos.
Use Backlighting:
Position your subject so that the light is coming from behind. This can create a soft glow around your subject, emphasizing their outline and adding a beautiful halo effect.
Utilize Lens Flare:
Embrace lens flare, which occurs when the sunlight hits your lens directly. This can add a dreamy and artistic quality to your photos. Experiment with different angles to control the amount of flare.
Capture Warm Tones:
The golden hour is characterized by warm, golden tones. Enhance these colors during post-processing to bring out the full beauty of the light.
Include People:
If you’re capturing portraits, the golden hour light can create soft, flattering illumination. Position your subject so the light falls gently on their face, avoiding harsh shadows.
Golden Hours in Photography | Explore Different Compositions:
Experiment with various angles and compositions to make the most of the unique lighting conditions. Try shooting from low angles or using elements in the foreground to add depth to your photos.
Stay Patient:
Lighting conditions during the golden hour change rapidly. Be prepared to work quickly and make adjustments as the light shifts.
Shoot in RAW:
If possible, shoot in RAW format to retain more information and flexibility during post-processing. This will allow you to fine-tune exposure, colors, and other elements.
Avoid Direct Sunlight:
While the golden hour offers beautiful light, direct sunlight can still be harsh. Use the surrounding environment, like trees or buildings, to diffuse the light and create softer shadows.
Golden Hours in Photography
Remember, practice makes perfect. Don’t be afraid to experiment and try different techniques to find what works best for your style and subject matter. Over time, you’ll develop a keen eye for capturing stunning images during the golden hour.

Golden Hours in Photography | shooting at different times of the day
shooting at different times of the day presents unique challenges and opportunities. Here are some tips to help you capture great photos regardless of the time of day:
-
Backlighting:
Shooting into the light can create stunning silhouettes and halo effects. Use the sun as a backlight to create a sense of depth and drama. Experiment with different angles to control the amount of flare and create artistic effects.
-
Indoor and Low-Light Photography:
When shooting indoors or in low-light conditions, use a wide aperture and higher ISO to let in more light. Consider using a tripod to stabilize your camera and prevent blur. Use available ambient light creatively or introduce artificial lighting for desired effects.
-
Night Photography:
Shooting at night opens up a world of possibilities. Use a tripod for long exposures to capture light trails, stars, or cityscapes. Experiment with different white balance settings to achieve creative effects with artificial lighting.
-
Rule of Thirds:
Regardless of the time of day, the rule of thirds can help you compose well-balanced and visually appealing shots. Divide your frame into thirds both horizontally and vertically and place your main subject along these lines or at their intersections.
-
Post-Processing:
Editing software can significantly enhance your photos. Adjust exposure, contrast, and color balance to optimize your images. However, aim for a natural look and avoid over-processing.
-
Subject and Composition:
Pay attention to your subject and composition. Interesting subjects and creative compositions can make a compelling photo regardless of lighting conditions.
-
Adapt and Experiment:
Each time of day has its own charm. Embrace the unique qualities of different lighting conditions and experiment with various techniques. Don’t be afraid to break the rules and try new things.
Final words
this article highlights the allure of capturing photos during the “Golden Hours” – the moments after sunrise and before sunset. It emphasizes the soft, warm light that enhances subjects with an ethereal glow. The Blue Hour, overcast days, and other lighting conditions are also discussed, each offering distinct opportunities for creative photography. The importance of timing and techniques for different times of the day is explained, providing insights into shooting at various lighting conditions. The text encourages photographers to adapt, experiment, and make the most of each moment to create stunning and captivating photographs.


Comments are closed.